Ratibida columnifera (Prairie Coneflower)
Ratibida columnifera (Prairie Coneflower)
Out of stock
Share
Couldn't load pickup availability
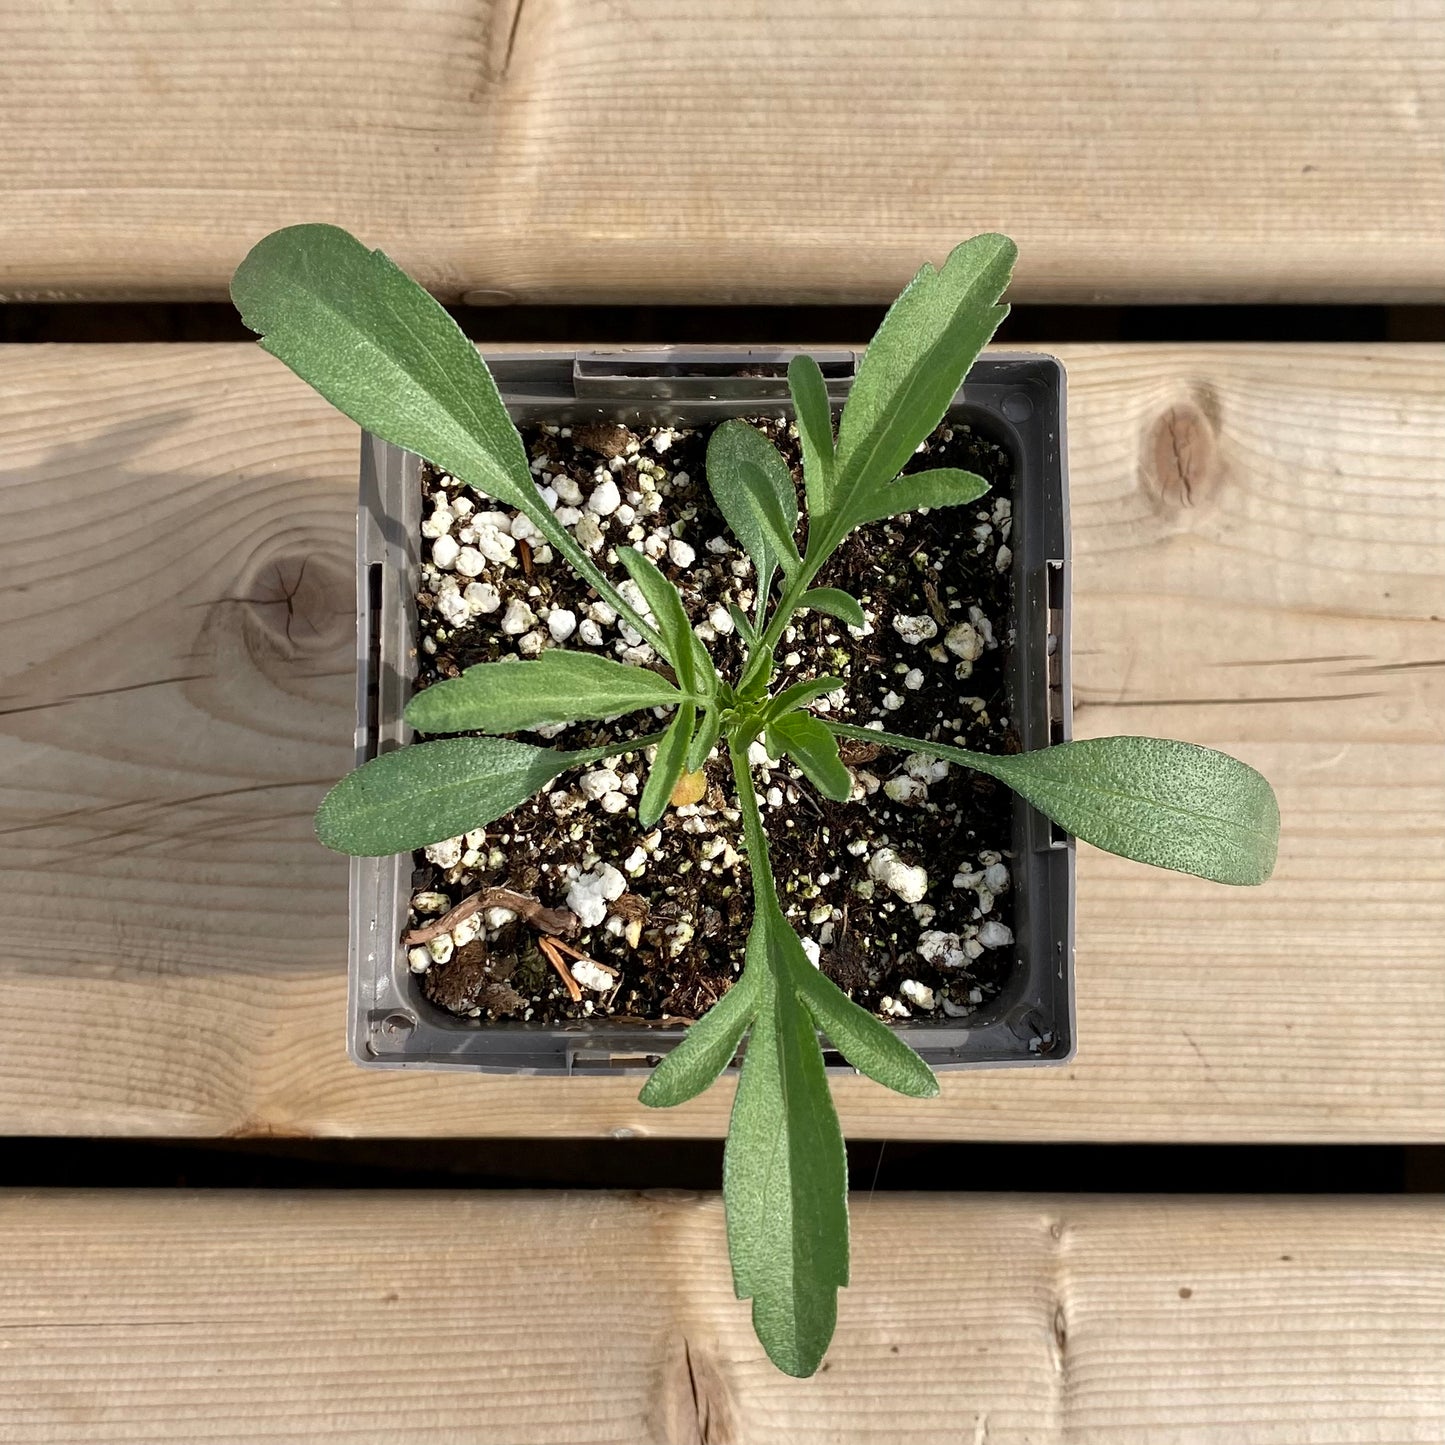
Ratibida columnifera, or Prairie Coneflower, is a dainty but elegant perennial plant. The blooms look similar to Black-Eyed Susan's, but with drooping petals. The petals can be yell, red, or a combination of the two.
Planting Guide
Perennials that are grown in soilless potting media may have a difficult time adjusting to the natural soil in your garden. Soilless potting media is used to grow perennials in pots, since natural soils are too dense and heavy to use as a potting media. Sometimes getting plants that are grown in soilless media to establish in the natural soil can be a challenge.
Here is how you can encourage your new plant’s roots to grow out of the potting media, and into the natural soil:
1. Dig a hole that is twice as deep/wide as the root ball.
2. Remove the plant from the pot and gently loosen the roots from the potting media. If the plant is severely rootbound and you cannot loosen the roots, cut up to half an inch off the sides and bottom of the root ball. This will not harm the plant and will stimulate new root growth.
3. Mix whatever potting media that falls off of the roots with the natural soil you’ve dug up. Remove the mixture from the hole and set aside.
***** If you cut the roots of the plant for step 2, skip steps 4 & 5, place your plant in the prepared hole and follow the rest of the guide *****
4. Make a small mound in the hole you’ve prepared with your soil mixture. Don't use all of your mixed soil. The mound should be similar in size to the container the plant was in. It should not be taller than the hole itself.
5. Spread the roots of the plant out gently, positioning them so they are evenly spread around the mound. This helps to encourage the roots to grow out and down. The part of the plant where the roots emerge should be sitting at ground level on the mound.
6. With your plant in the hole, backfill with the mixed soil/potting media. Make sure the plant is not buried any deeper in the soil than it was planted in it’s pot. Only the roots should be covered with soil.
7. GENTLY tamp the soil down around the plant. Don’t step on the soil or press extra hard. You should only press hard enough to make sure the plant is stabilized and to make sure any air pockets are removed. Stepping can compact the soil too much sometimes.
8. Add a 3” layer of mulch around the soil of plant, but DO NOT add mulch so that it touches the plant. The closer to the plant the mulch gets, the thinner it should be applied. There should be a mulch “bowl” formed around your plant, with some bare soil between the plant and the mulch. If your plant comes with a coco disc, leave the disc in place and put mulch up to the disc. The disc is 100% natural and organic and will breakdown over time.
9. Water the plant deeply. Give each plant a lot of water at the time of planting. Allow the water to fully absorb into the ground before adding more. Water every several days, gradually increasing the amount of time between waterings, but adjust accordingly during a drought. Watering deeply and infrequently will encourage the roots to grow deep in search of water, creating a more robust, vigorous, and healthy plant. Plants that are given a daily shallow watering, or infrequent shallow waterings, will cause the plant to create a shallow and weak surface root system since that is where the water is. This oftentimes creates weaker plants, leading to increased disease susceptibility, poor growth, and ultimately, failure.